Computer these days not meant only for calculation, most of our work depend on it. Most of us spent our valuable time in front of computer to make our work easy, we cant refuse if any body say our success is not possible without computer.
Well, if you want to make your work easier and somewhat more simpler, you will have to purchase a high speed and high processing Computer, which make your work very simple.
Along with good speed you always face a problem, of Reinstalling Operating System with all Applications, which always take a long time -- almost 2- 3 hours. So what you do if windows got corrupted. Well i will say, there is a way through which you can save almost 60% of your time during installation.
Now you thinking what Allahdin lamp i got, that i am saying you can save your 60% time. Its nothing just a thin Application.
VM ware is a common brand which always make their all software on Virtulisation, means sharing of physical resources without harming physical system, only you have to require some good configuration of system, I remember its VM ware Machine with it you can run a small network on an only a stand alone system, isn't it imaging.
Lets us Talk about its tool THIN APP, Just like other application of VM ware (VM ware Machine, server, Esx server, Virtual Desktop ), Thin App is also share a common platform of Virtulisation. It not only virtually run your application, even you can save there license and registration with in the application bundle. There is no need to insert the license again and again on every re-installation of OS, it just make a single Exe file which on click execute the program without installing it to the Hard disk
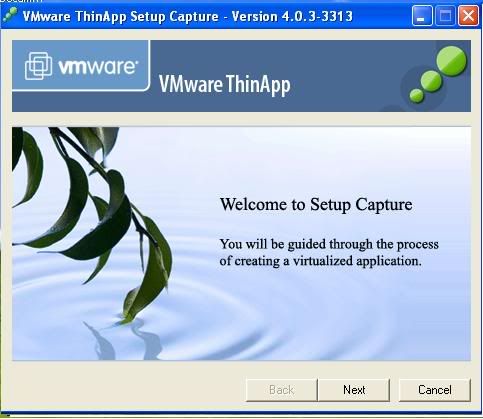
Let us take a look how to make a Autorun application with the Thin App:--
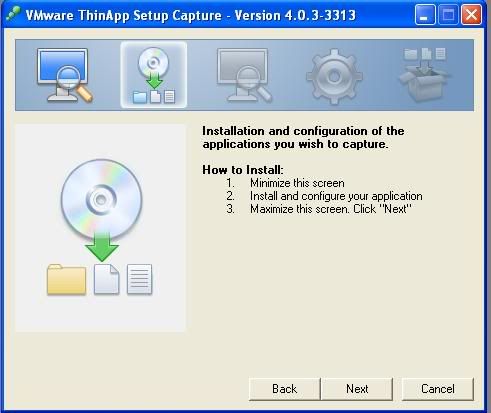
1. Install the VM Ware Thin App, on frash system, before to install other Application, when Installation complete click on its Icon to run.
2. Click on NEXT to proceed.
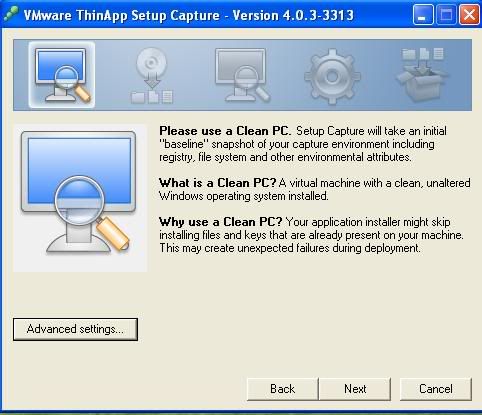
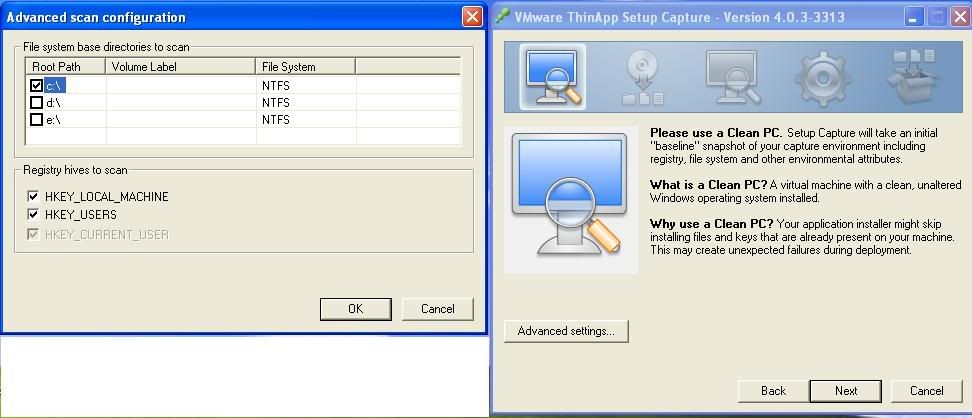
3.When you select your default drive click at OK and then click at NEXT,
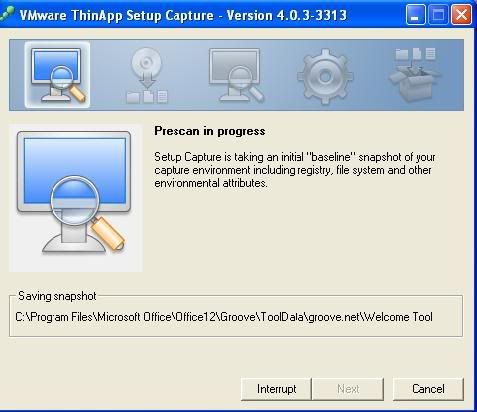
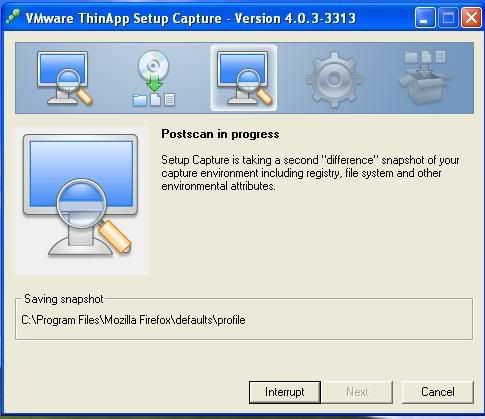
It will start its process of Prescan, which scan the directory which you allowed it to scan for changes, it will take some time. Once it give you option to click on NEXT then click at NEXT .
4. After a whole process, It will give you a option to Minimize the Thin app window and Install the software.

6. If your software require any product key, serial key then you should apply it too on the same time before Maximizing the window of Thin App, other wise Thin App capture only installed application without serial/ key.
After you done, Maximize the Thin App application, and click Next.
8. Once you click at Next, it will give you an option to select the installation files, it already selected by scanning, if you want a particular file out of all, then you can only choose that one and uncheck remaining.
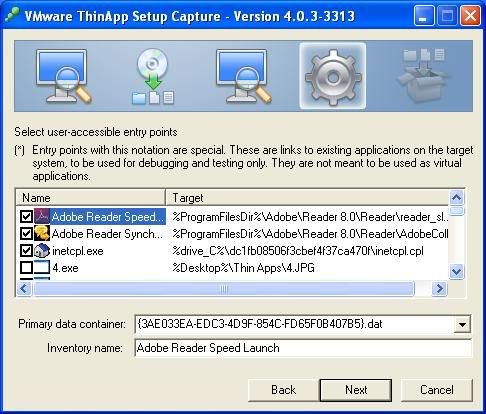
9. Click Next To proceed, You see a window of project just like that.
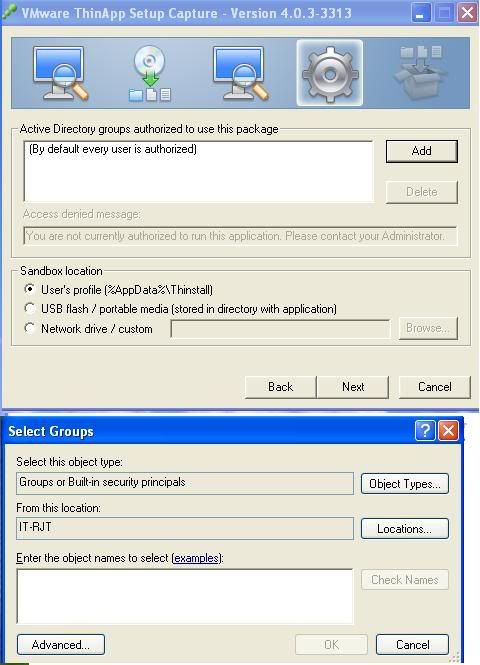
Its nothing just for granting the right to open and execute the application. By default everyone have a right to execute it, you may select different user by clicking at Add. Here you find one more option of Sandbox Location, actually during Executing the program, it make some temp file to execute that, it has a collection of files needed it to execute, it automatically created when you click the application Icon to execute it. select anything as per your desire and click at Next .
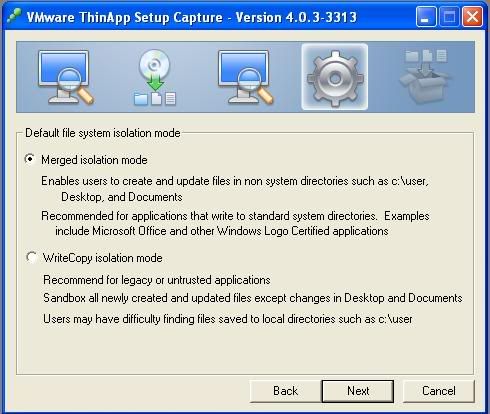
10. It ask you to select the Isolation mode, its nothing just how to integrate with Operating system. Select any option and click NEXT
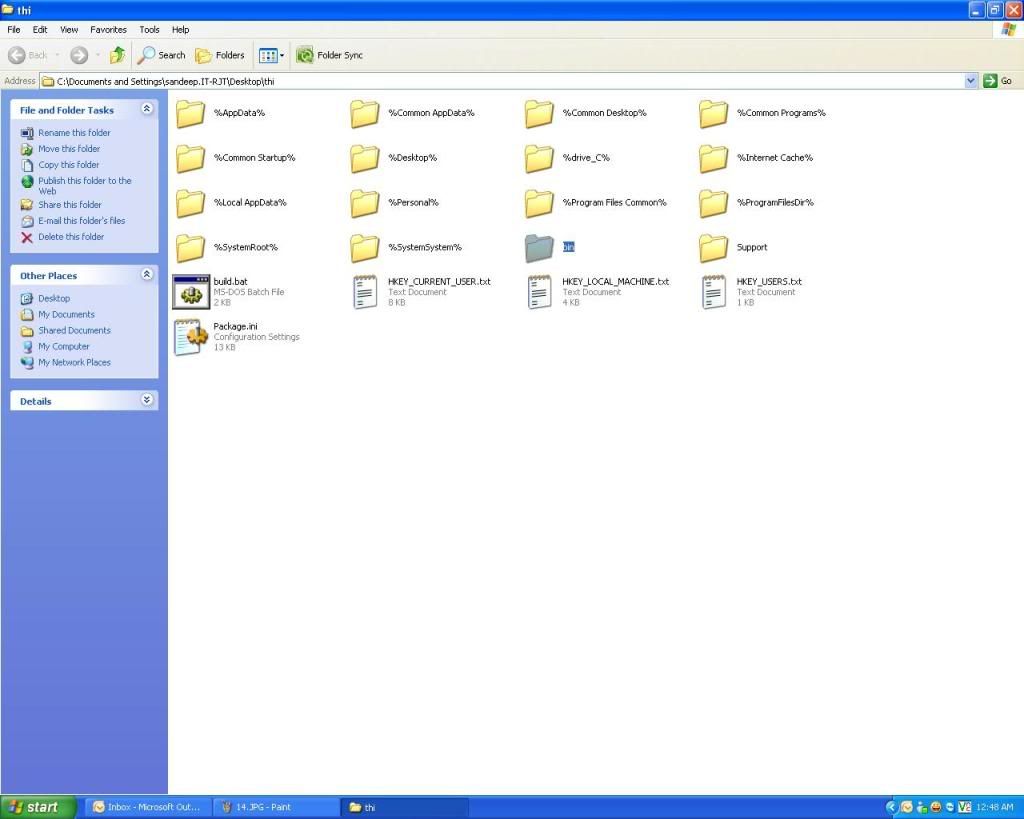
11. You can save your project at your desired path once it create a directory you never need to follow whole path again you simple have a option to built your application through only that project folder.
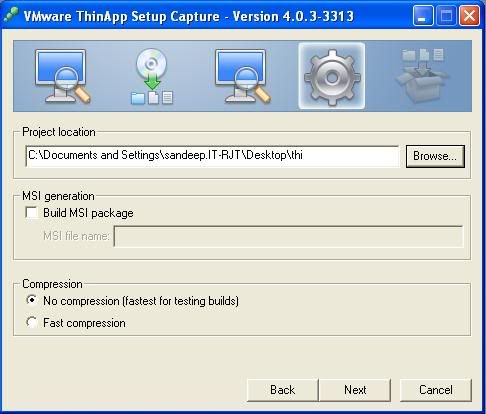
Along with the path, you will get some more options -- like installation of EXE ---you will get an option to built MSI, and Compression method.
One Excited thing I like about this software is that if you select Fast Compression, it never take too time to Execute the application .
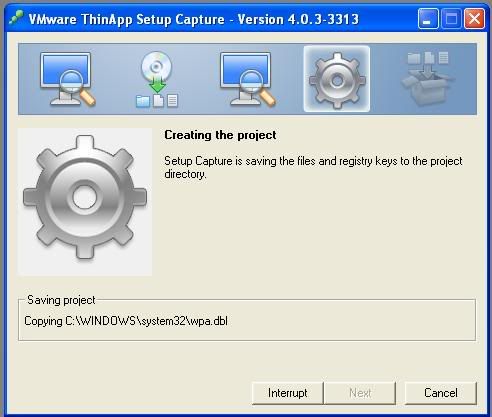
12. Click on Next to Create the Object, Finally you get a option to built your EXE, Click on BUILT NOW, and click on Finish.
14. double click on the icon of you application to open it.
As i already told you there is some limitation of Every software, it has also a limitation, if you trying to make EXE of your Drivers then you never do it, it has no effect on updates. If there is some requirement of your software, lets say if you install Office 2010 on windows XP it require XML 6.2, so if you make EXE of office 2010, then you must have a XML. 6.2 installed on the system which you trying to execute the office.
But over all its a very Effective tool to make and share application without installing and without corrupting the registry, of windows.
I am glad to see this information providing article.
ReplyDeleteComputer data damage scenario is generally a headache for the individual.
A range of data recovery computer software programs happen to be designed a by the experts, with the intention that a person can certainly simply restore their lost data.
End user should be knowledgeable of the available info restoration resources guaranteeing that he'll deal the info deletion situation in a very correct way.
repair pst
Thank you. Your blog was very helpful and efficient For Me,Thanks for Sharing the information.
ReplyDelete